
His version though uses a Hasegawa Scribing Template. I don't really know where to get these and I assume that they can be somewhat expensive like Tamiya tools. So he told me to use the next best thing, an Erasing Shield.
I purchased mine for only P24 at National Bookstore.

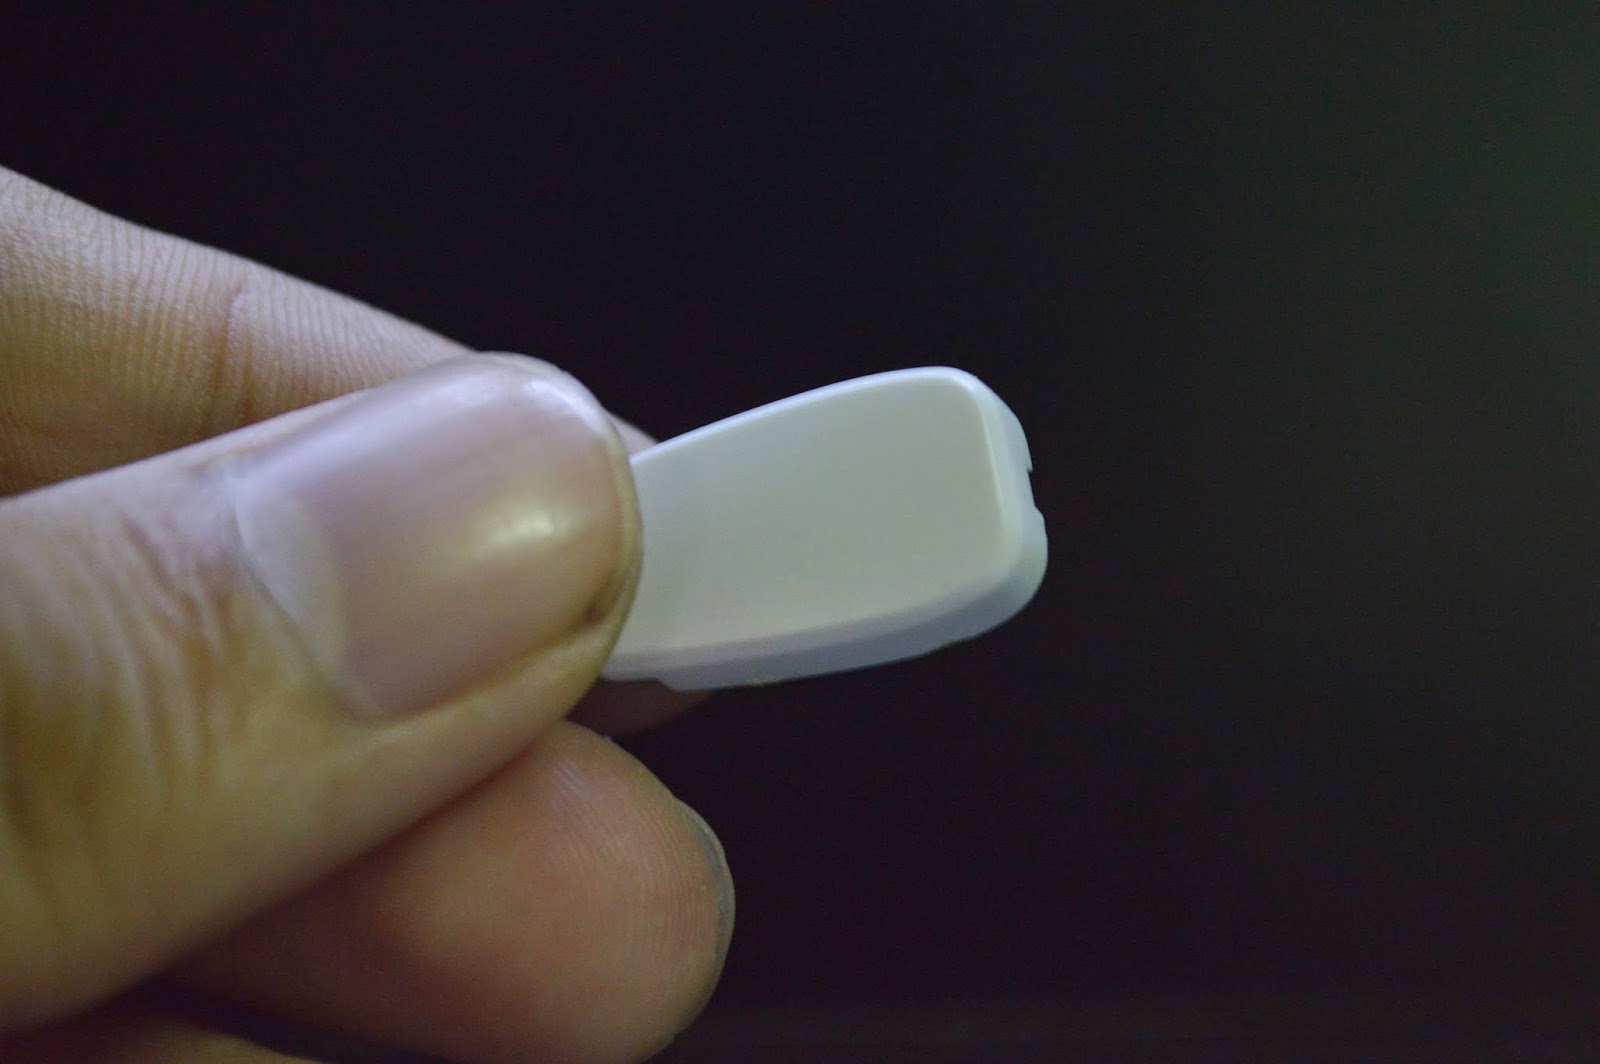
I'll be using this part from the HG 1/144 Heavy Arms Custom. First thing we need to do is to design how our Panel Scribe would look like.
If you don't have a ruler, you can use the Erasing Shield to draw the design of your Panel Scribe. You should use a pencil since we'll be erasing it afterwards

Here's a better view if you can't see it well

So here is my design. Very basic design. It's up to you make your own design depending on how wild your imagination can be.

Before we start, we'll need some tape. Here I'll be using some cheap Masking Tape

Just simply align the Erasing Shield with the template you made and attach some tape to it. This will hold the Erasing Shield in place.

We're going to need a Dart Pin for the initial carve

Go ahead and firmly hold on to the Part as well as the Erasing Shield. Carve along the template using the Erasing Shield as your guide. You're going to make several carves here depending on how deep you want it to be.

After the initial carve, take your Hobby Knife and carve again using the back of the knife. It's better to use a Tamiya Scriber.

After carving, go ahead and sand the scribed areas. There will be a buildup of plastic after carving so it's essential we sand it down.

After sanding, this is what it will look like. As you can see, I've made a mistake here since I've made one carve too long. Hopefully you only made one light pass here so we can still fix that. Just sand it down again until the error is gone. Just be careful not to sand too much!

After sanding it, there will be shavings going inside the Panel Scribe we made so take your hobby knife and just let it pass to remove the shavings inside.

This is what it'll look like after cleaning

And here it is now after panel lining it! It kinda looks nice and clean

It looks good on the HG 1/144 Heavy Arms now!

And that's it for this tutorial! Once again, thank you for reading, stay tuned for the next tutorials and Happy Building :)
No comments:
Post a Comment